How to Connect Group Collector with ActiveCampaign
ActiveCampaign is a powerful email marketing and CRM platform. Integrating ActiveCampaign with Group Collector allows you to automatically sync new Facebook group members to your ActiveCampaign lists and apply tags.
To complete this integration, you will need:
- ActiveCampaign API URL
- ActiveCampaign API Key
- ActiveCampaign List ID (Optional)
- ActiveCampaign Tags (Optional)
Follow the steps below to get these details and set up the integration.
Before starting, make sure you have:
- An active ActiveCampaign account
- At least one list created in ActiveCampaign
- A connected Facebook group in Group Collector
Step 1: Log in to ActiveCampaign and Get API Credentials
These API credentials allow Group Collector to securely send leads to ActiveCampaign.
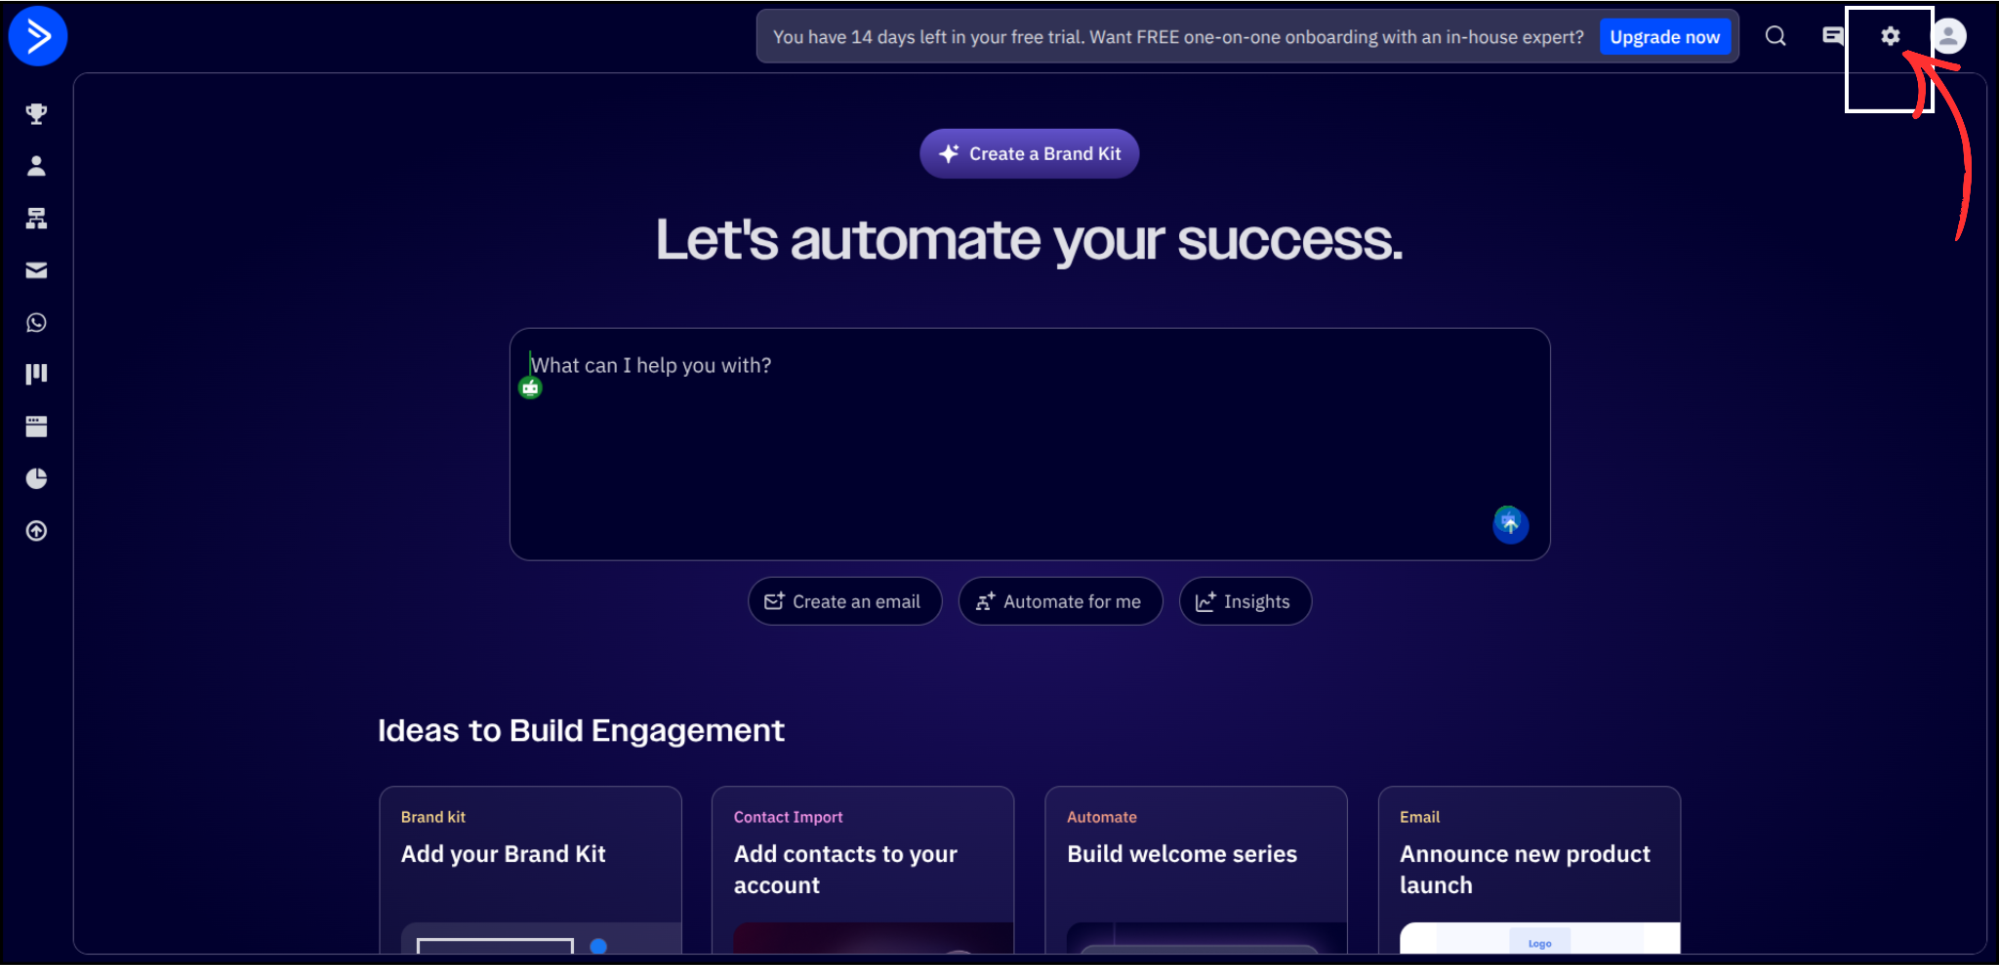
- Log in to your ActiveCampaign dashboard
-
Click on the Settings icon (gear) in the top-right corner
-
Go to Developer in the left sidebar
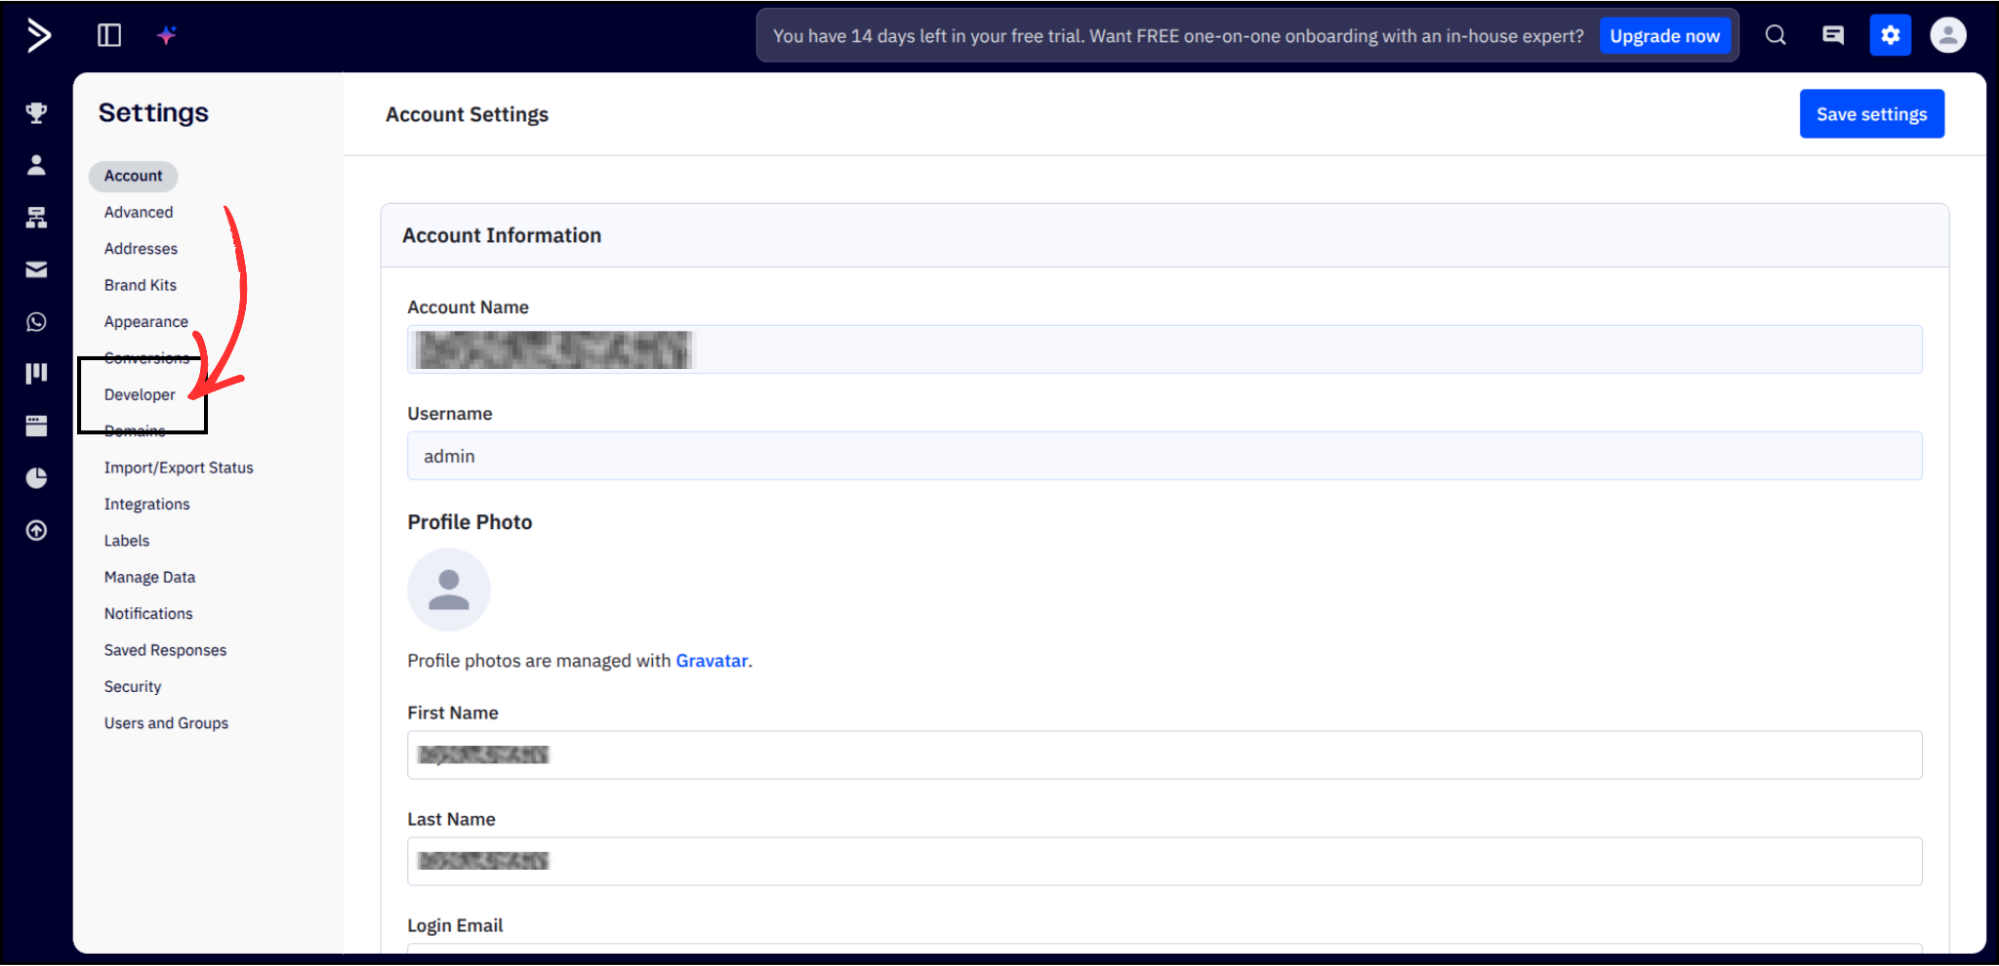
-
You will see the API Access section with your API URL and API Key
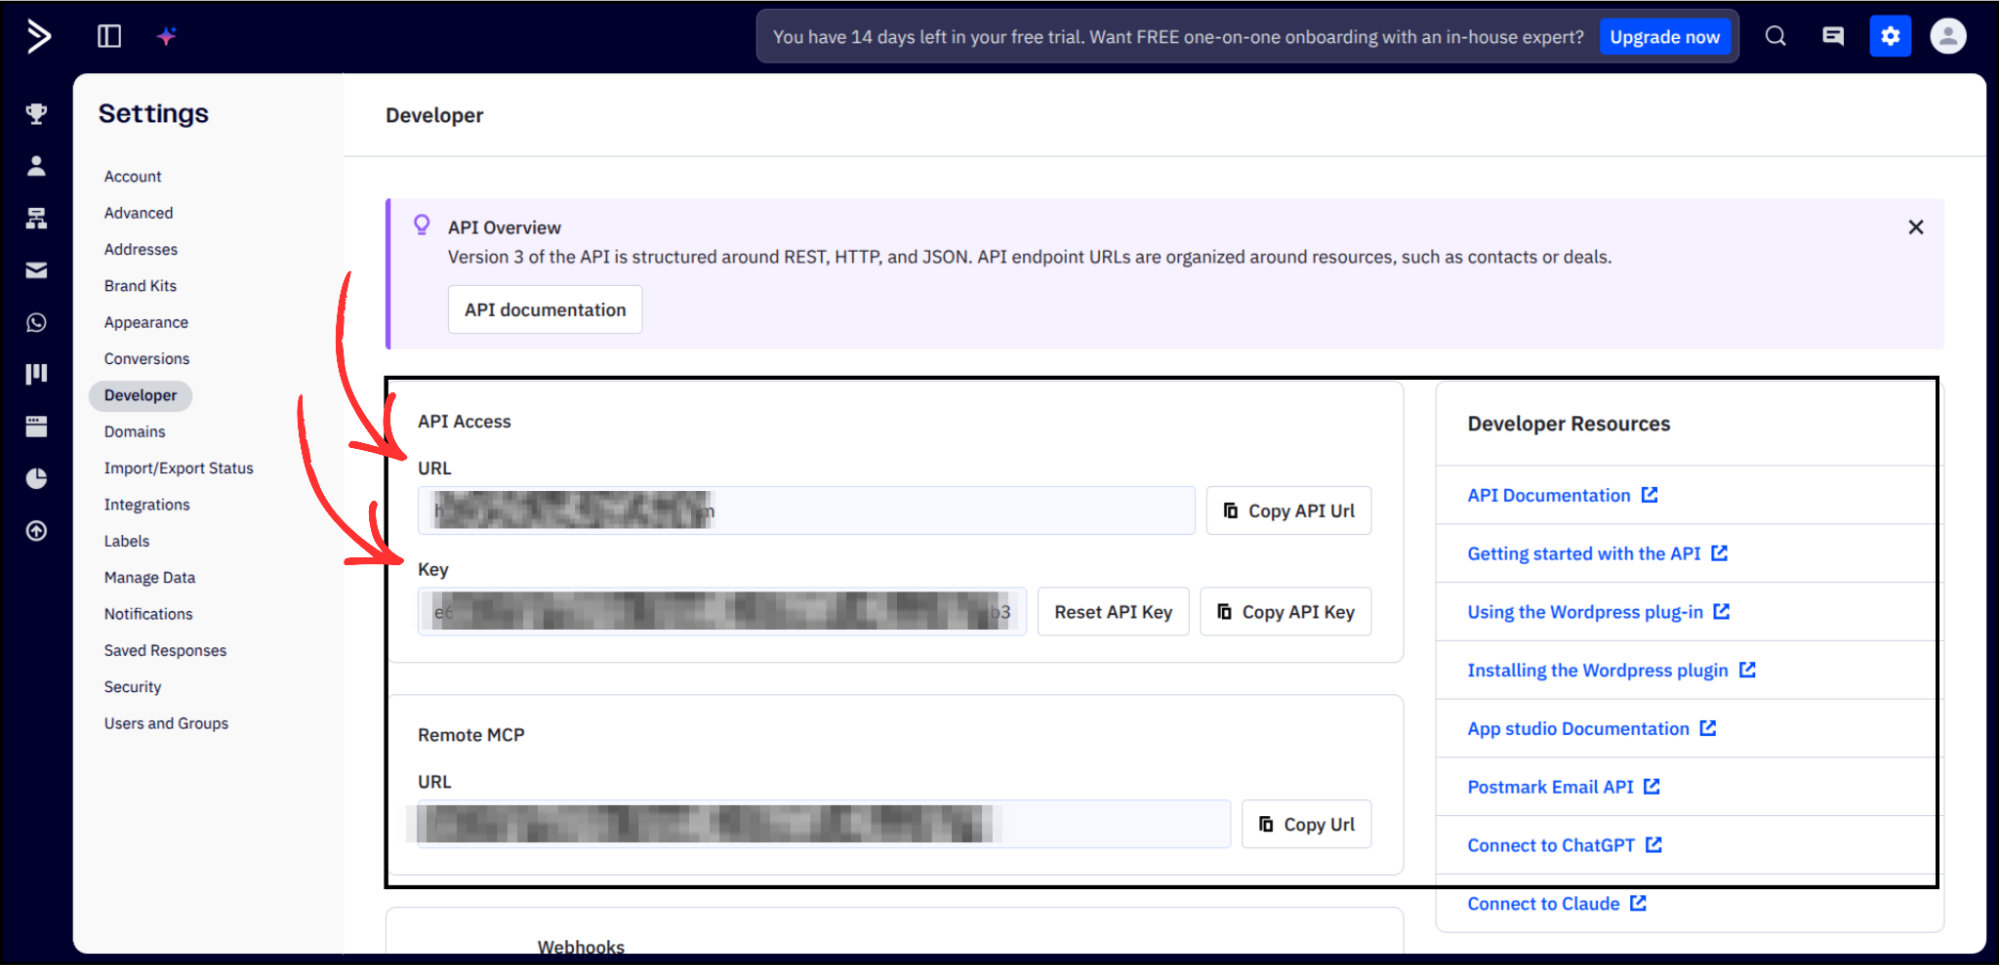


Copy both the API URL and API Key and save them securely. Keep these credentials private.
Step 2: Get Your ActiveCampaign List ID
Group Collector requires a List ID to know exactly where to store new contacts. This step is optional.
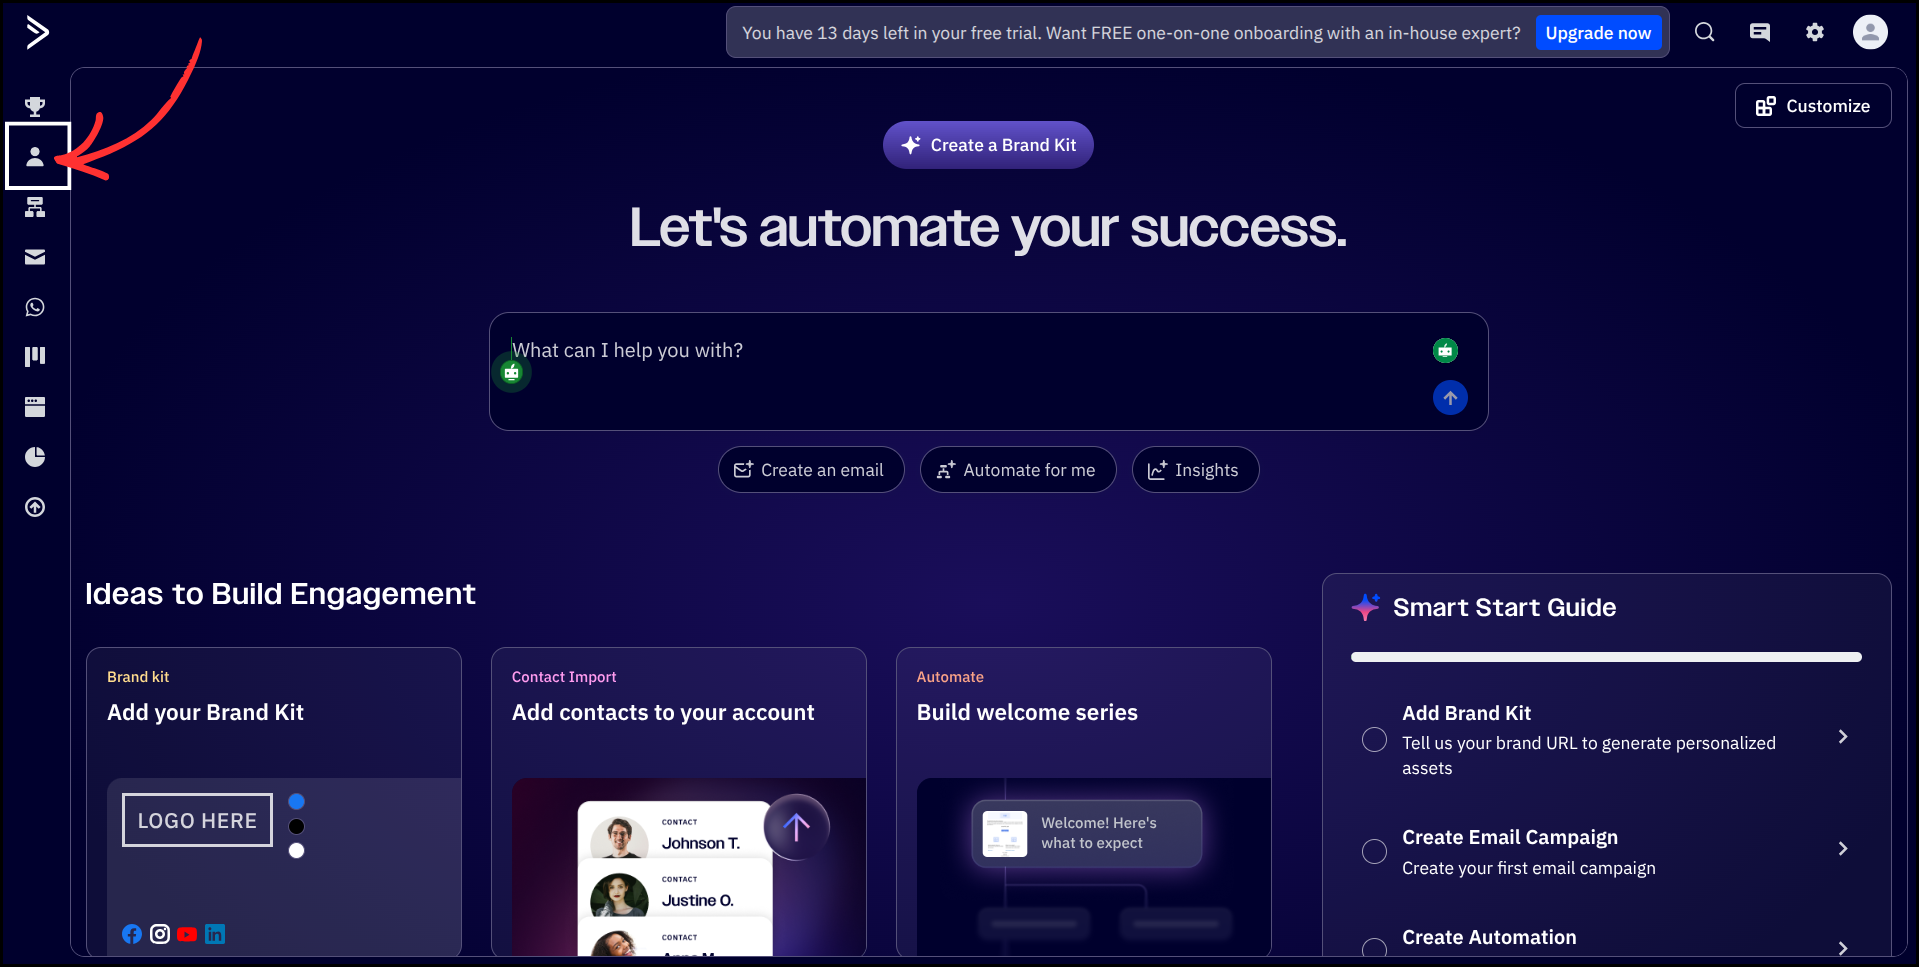
-
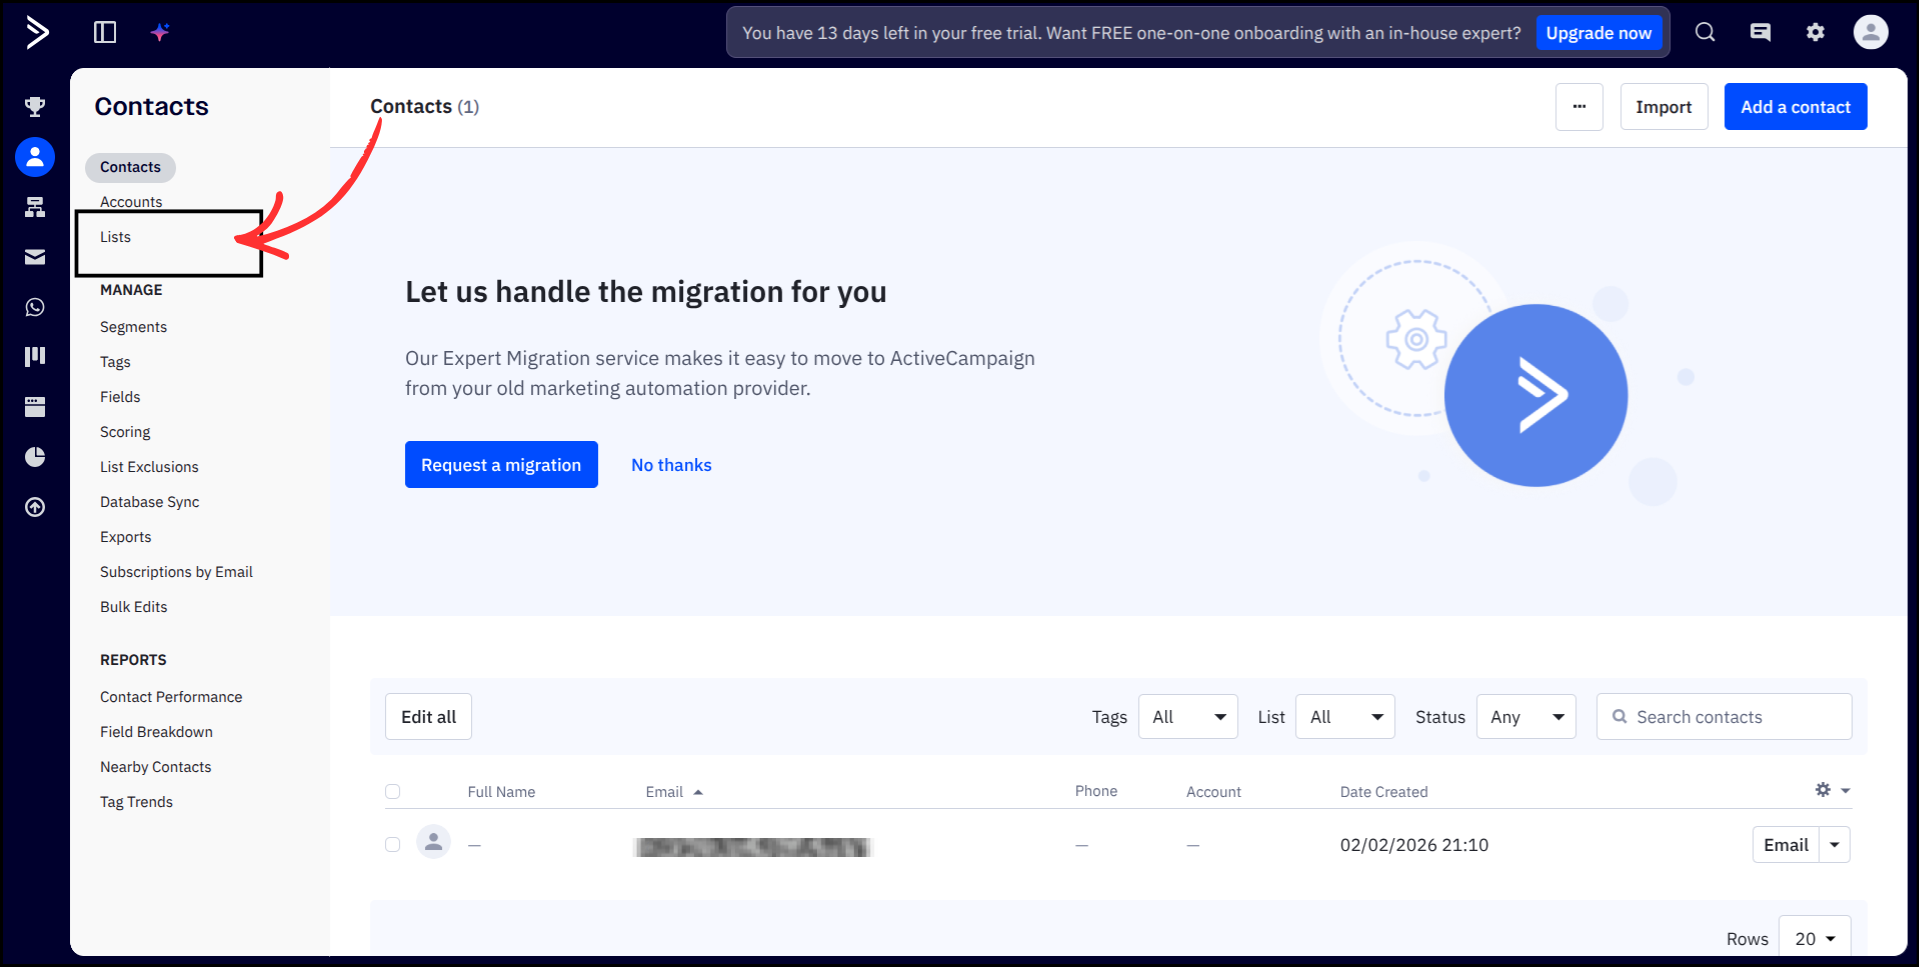
From the left sidebar, click on Contacts
-
Under Contacts, click on Lists
-
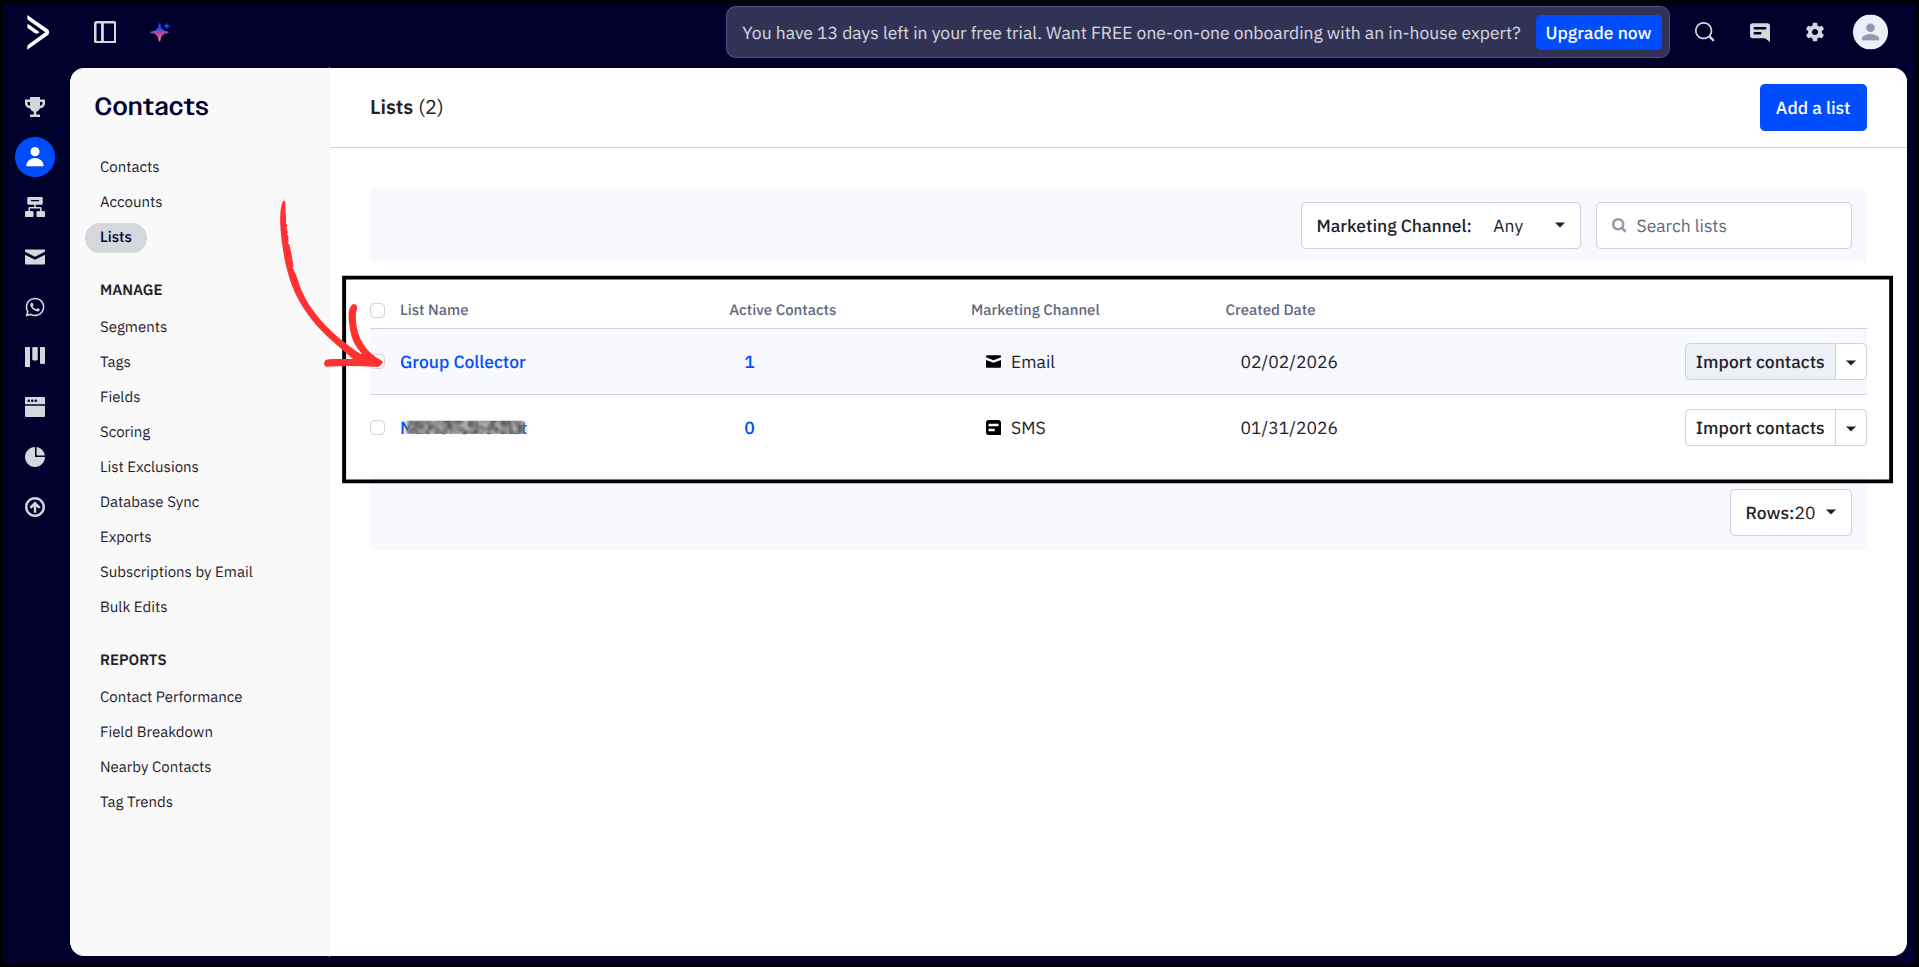
Click on the list name you want to use
-
Look at the browser URL bar. The number at the end is your List ID
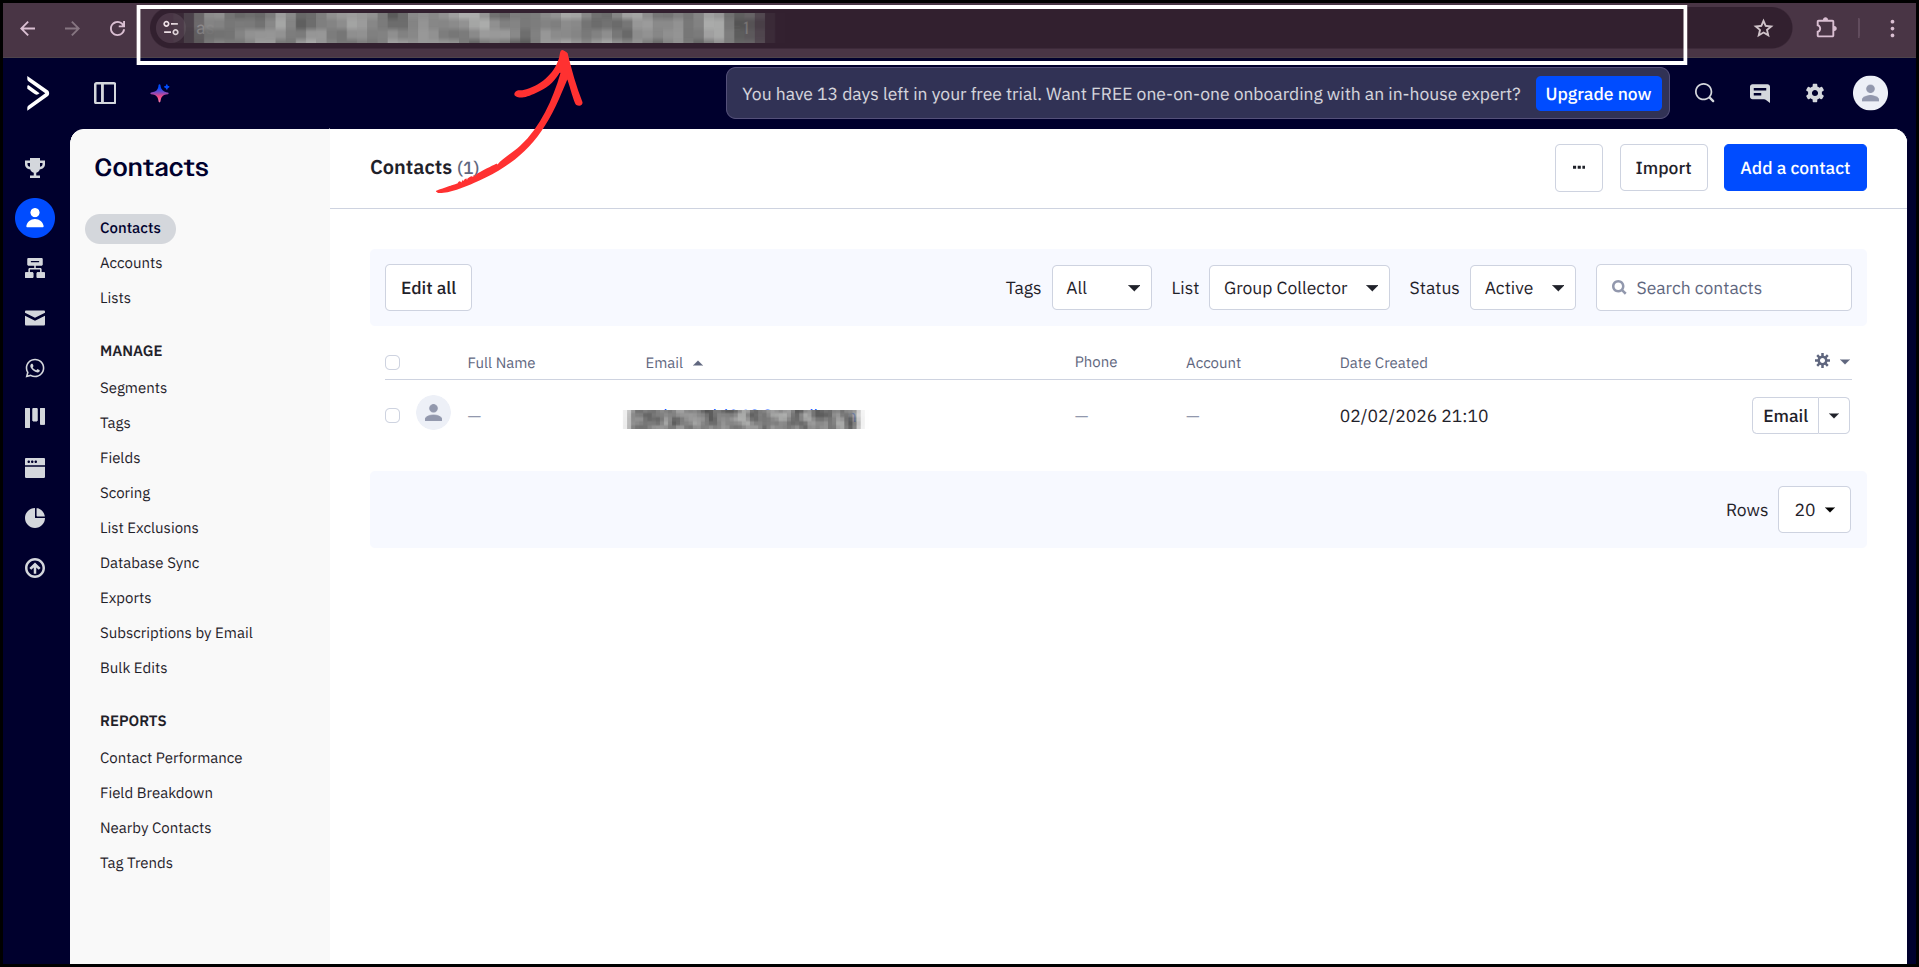


Copy the List ID and save it. For example, if your URL is https://youraccount.activehosted.com/app/contacts/?listid=2, your List ID is 2.
Step 3: Create or Find Tags in ActiveCampaign (Optional)
Tags help you segment leads by group name, campaign, or source.
-
From the left sidebar under Contacts, click on Tags
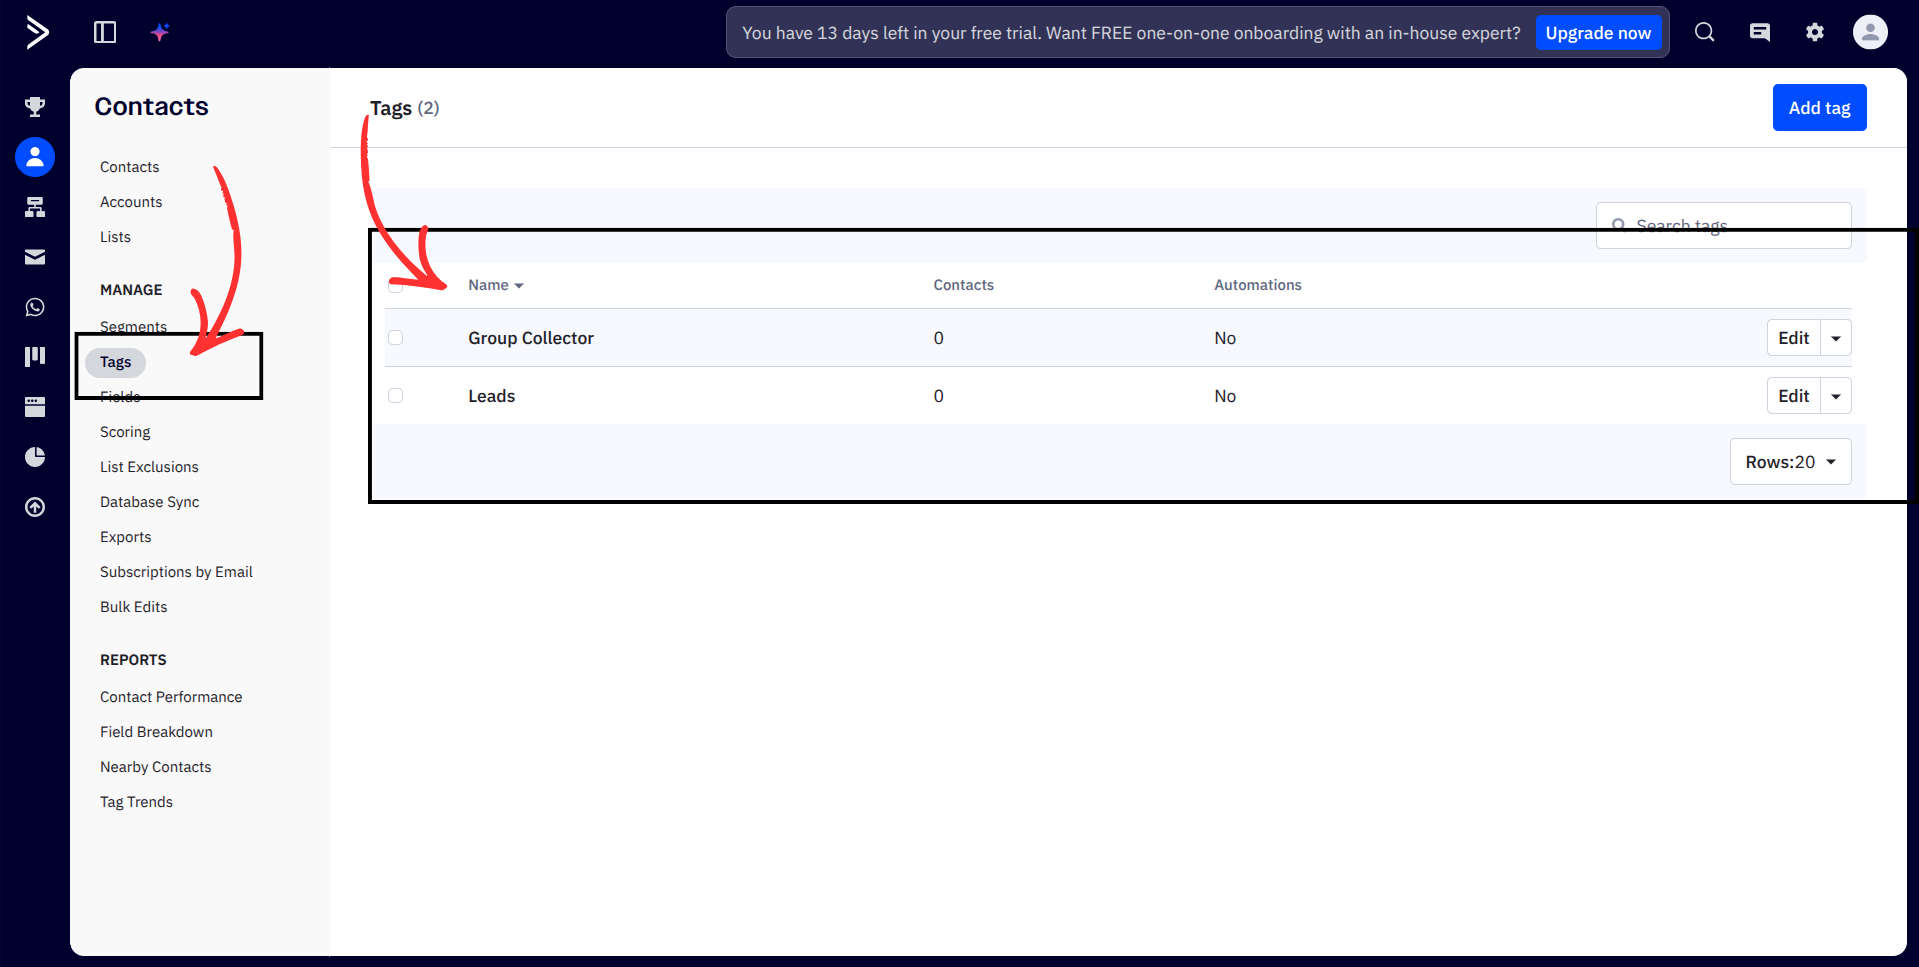
- Here, you can view existing tags or create a new tag by clicking Add tag
- Name it anything you want (e.g., GroupCollector, FB Group Leads)

Copy the tag name and save it. Only one tag can be used with the Group Collector integration.
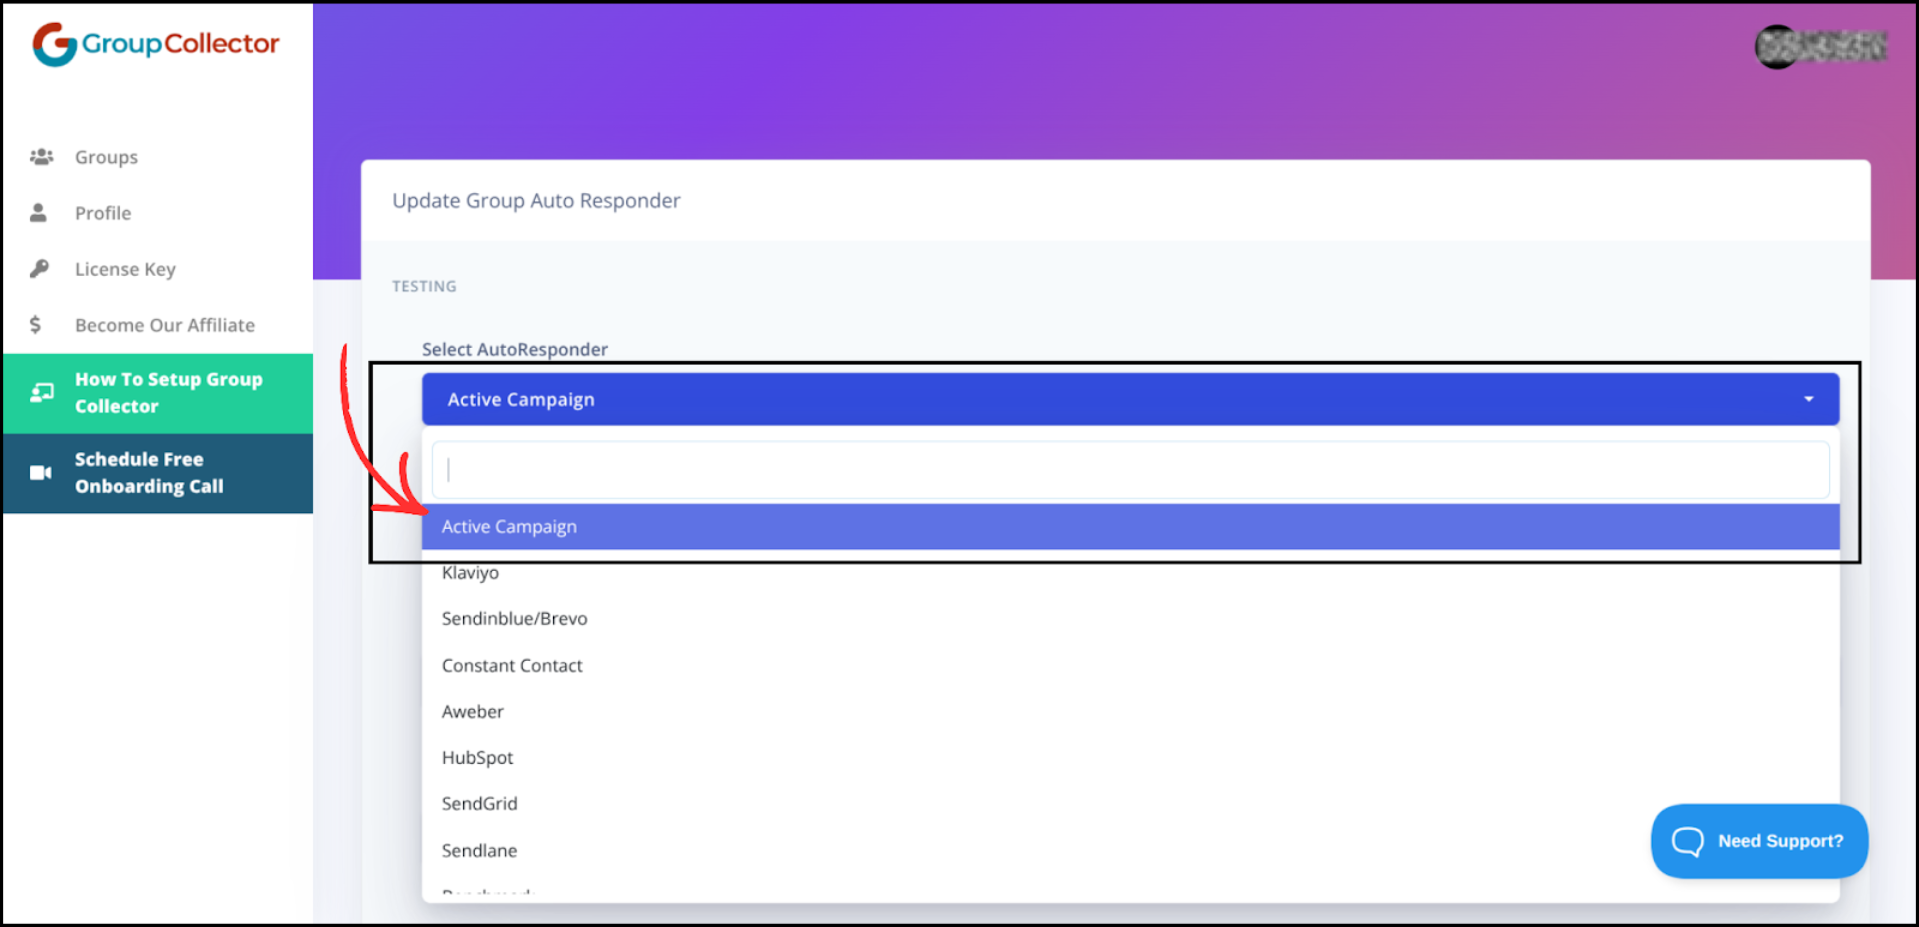
Step 4: Add ActiveCampaign as an Autoresponder in Group Collector
- Log in to your Group Collector dashboard
-
Click Add button for the Autoresponder

-
Select Active Campaign from the autoresponder list


Step 5: Enter Your ActiveCampaign Credentials
- Paste your API URL into the API Path field
- Paste your API Key into the API Key field
- Paste your List ID into the List Id field (optional)
-
Paste your tag name into the Tag Name field (optional)
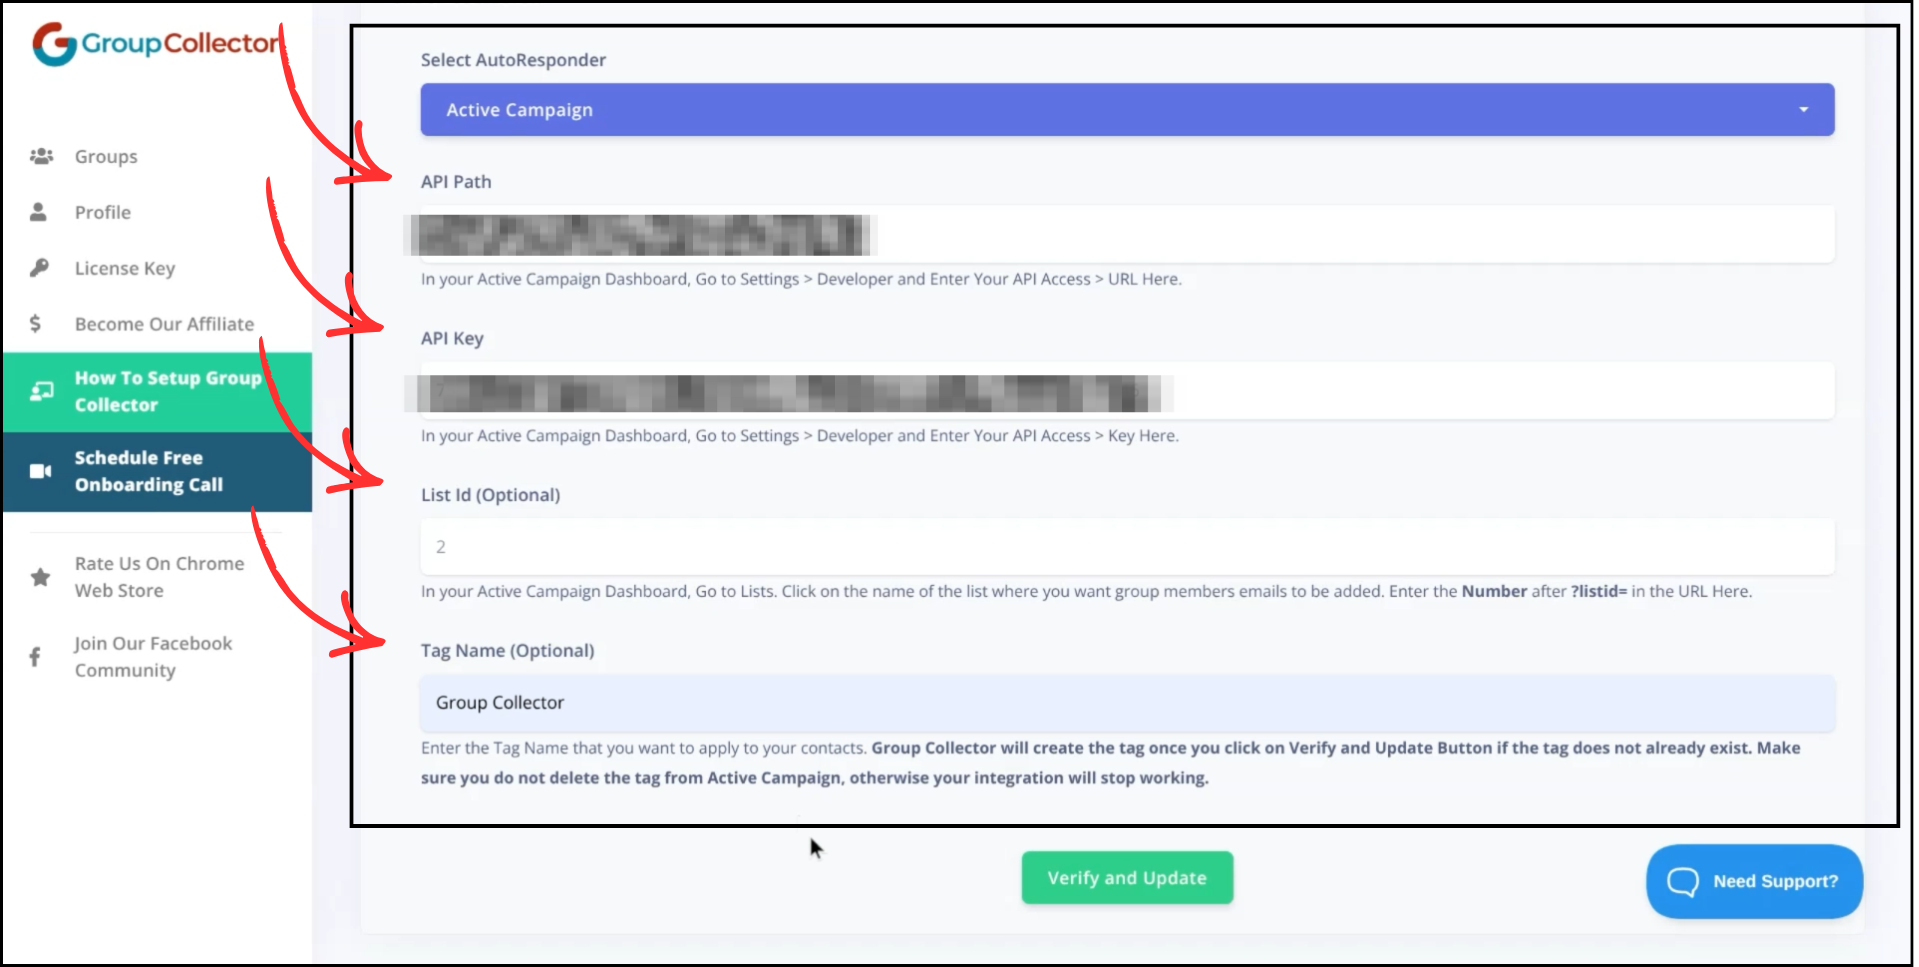

Double-check all values to avoid errors.
Step 6: Verify and Save the Integration
-
Click Verify and Update
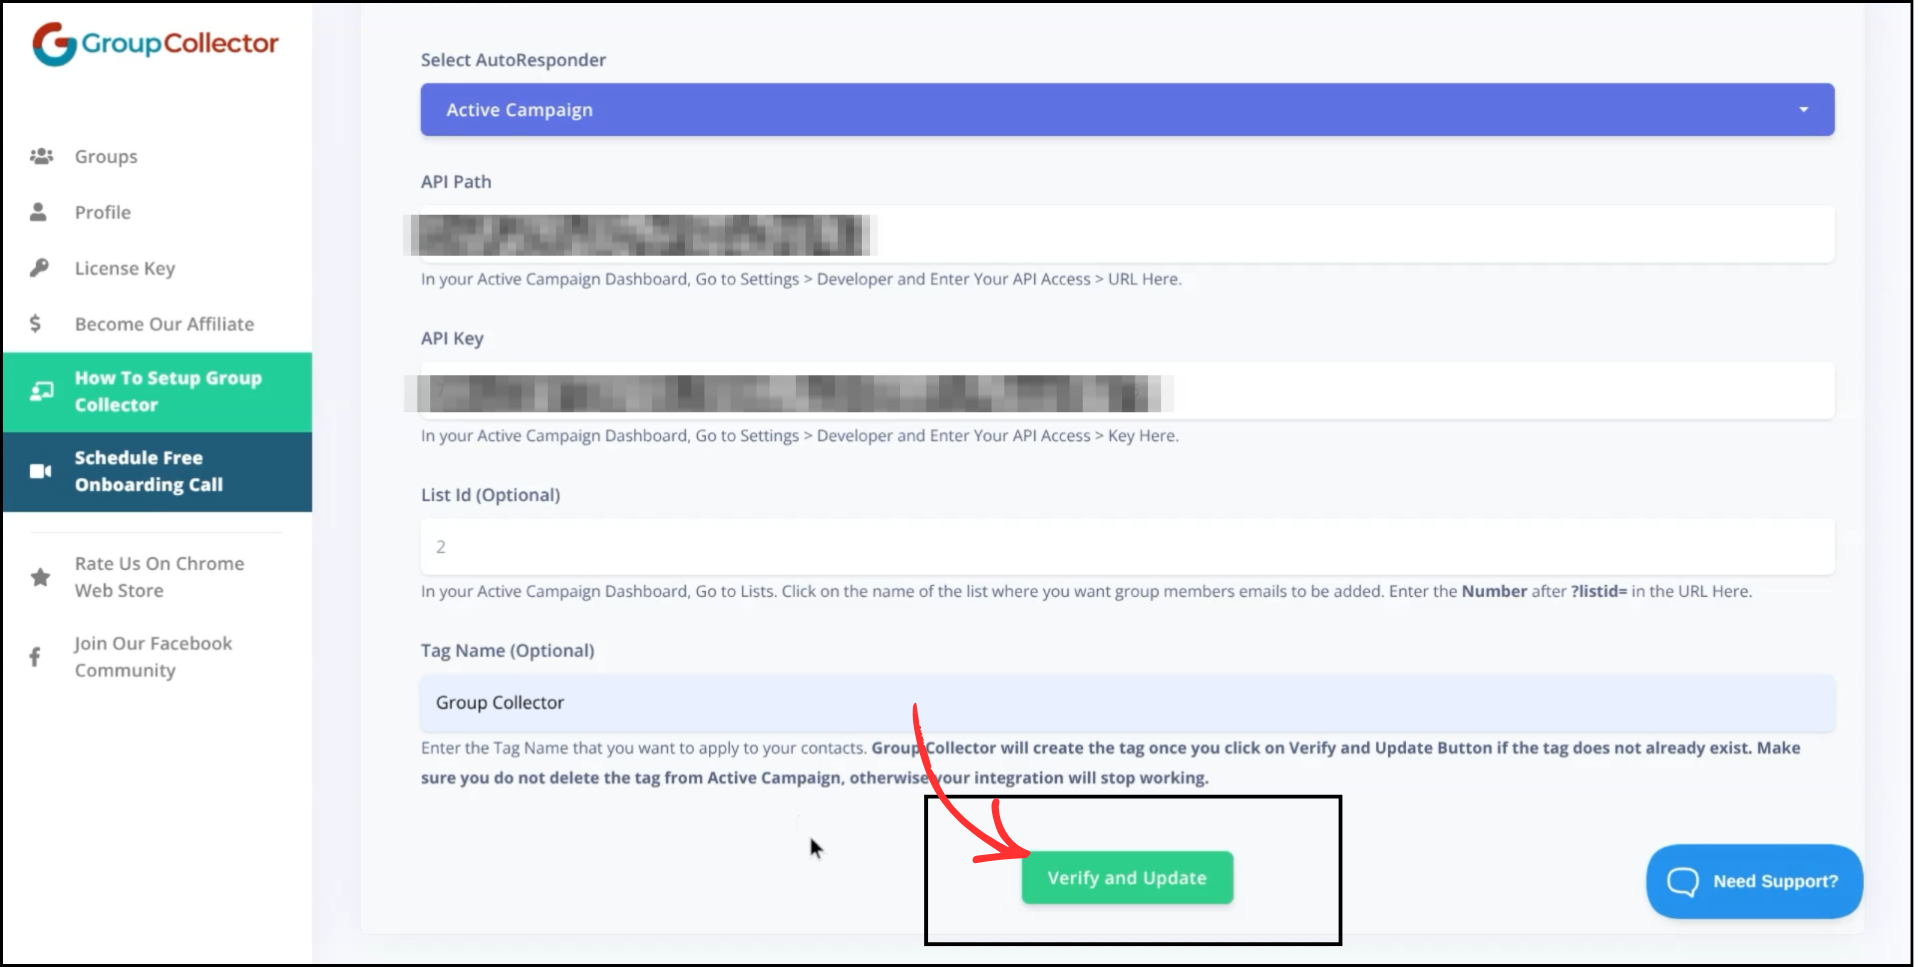
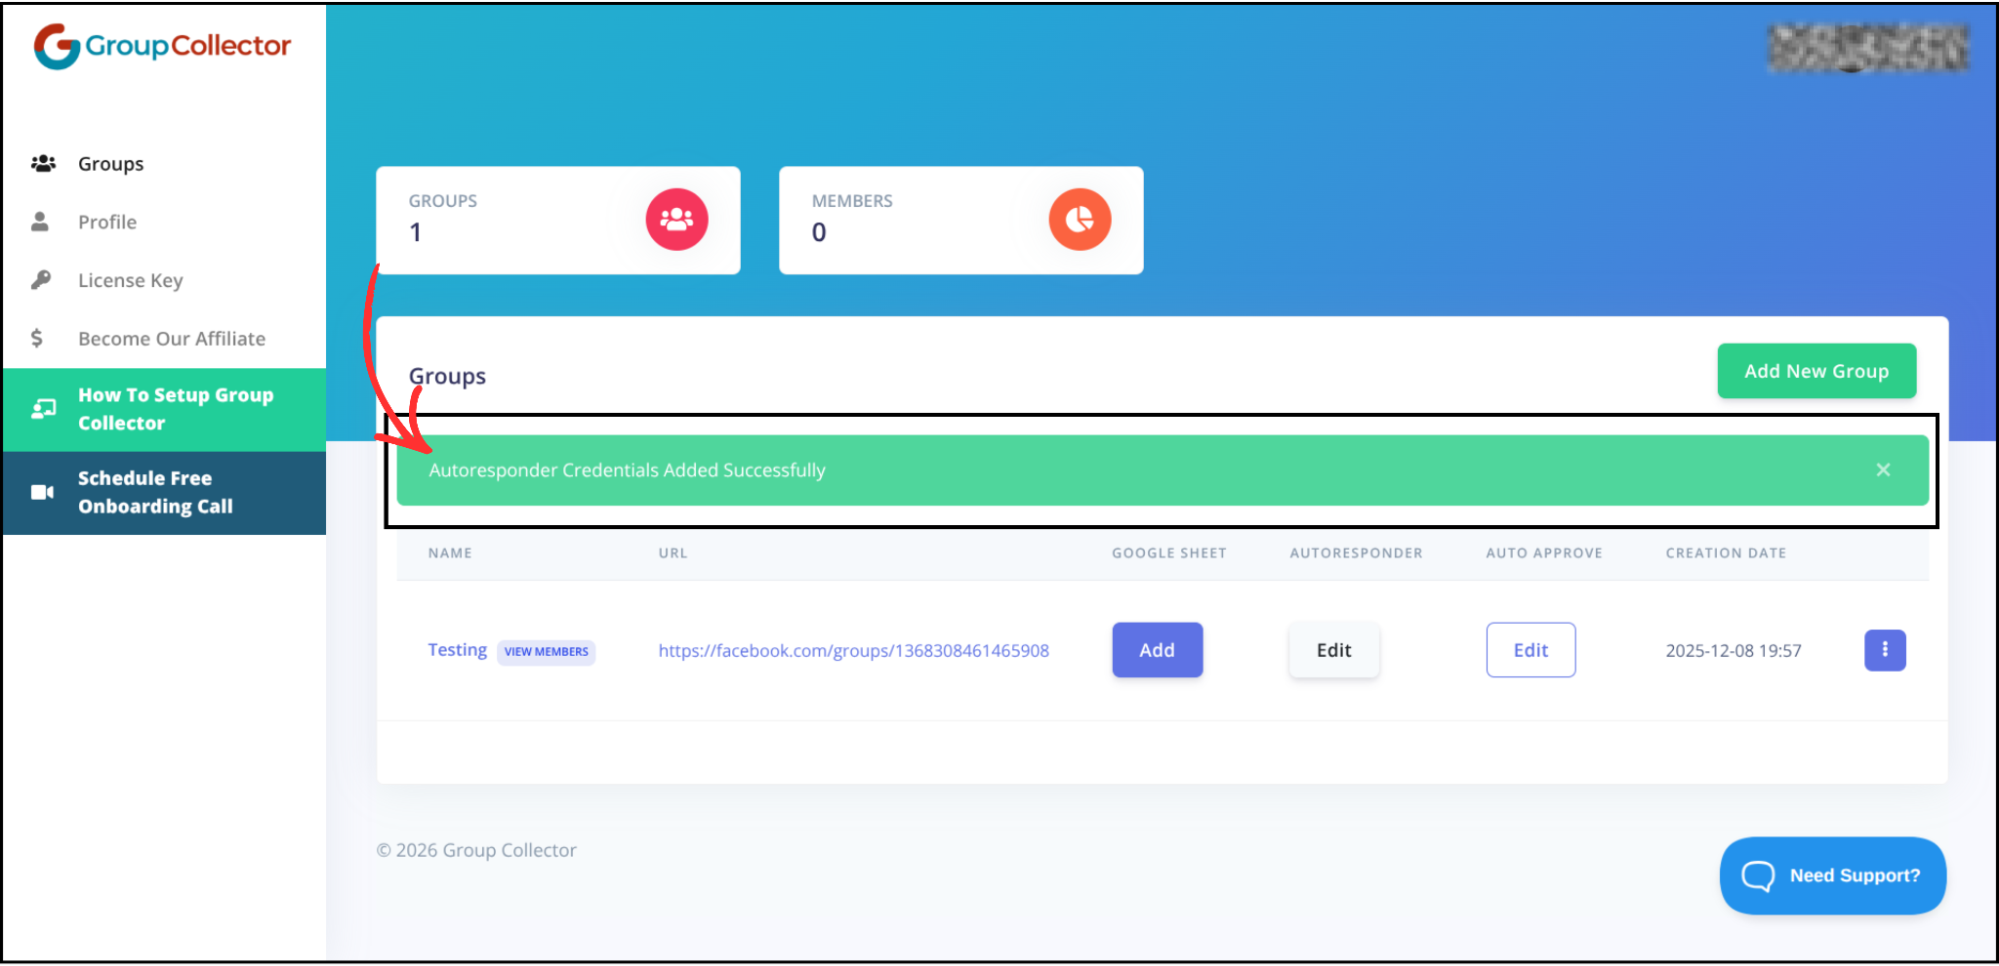
- Wait for the confirmation message

If successful, ActiveCampaign will be added as an autoresponder in Group Collector.
Final Result
Once the integration is complete:
- Approved Facebook group members sync automatically to ActiveCampaign
- Leads are captured in real time
- Contacts are added to your selected ActiveCampaign list
- Tags are applied instantly (if added)
- Subscribers are ready for email marketing and automation
- No manual CSV uploads required
- Data is also stored in Google Sheets for backup and tracking
Common Mistakes to Avoid
- Using the wrong API URL — make sure you copy the complete URL
- Copying extra spaces while pasting credentials
- Entering an incorrect List ID
- Deleting the list after integration
- Revoking API access after setup
- Not testing with a sample approved member
Best Practices
- Use one API key per integration
- Test the setup with a single approved member
- Use tags to segment leads by source or campaign
- Create separate lists for different Facebook groups
- Store API credentials securely
- Review integrations periodically to ensure they are working correctly