How to Install and Setup Group Collector
You can also Watch Group Collector Video Tutorial to Install and Setup Group Collector here.
Follow the steps below to set up Group Collector Software and Chrome Extension.
Install & Setup Group Collector Extension
Click here to Install the Group Collector Chrome Extension from the Chrome Web Store.
Click on the Add to Chrome Button on the extension page.

Then click on the Add Extension button on the popup.

If you are using the latest version of Chrome, you may not see the Group Collector Extension in the extension tray. It is because Chrome unpins new extensions by default. To Pin, the Group Collector Extension to the Extension Tray, Click on the extension icon in the extension tray and look for the Group Collector. Then click on the pin icon next to Group Collector to add it to the extension tray.
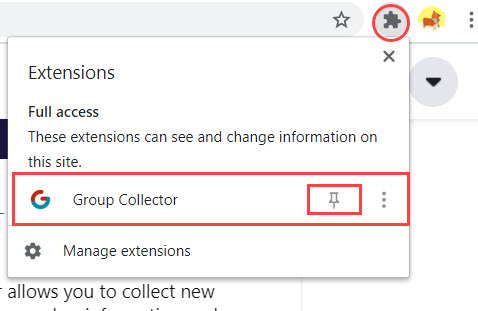
Group Collector will be added to your extension tray.

Click on the Group Collector Logo in the extension tray to open the Group Collector.
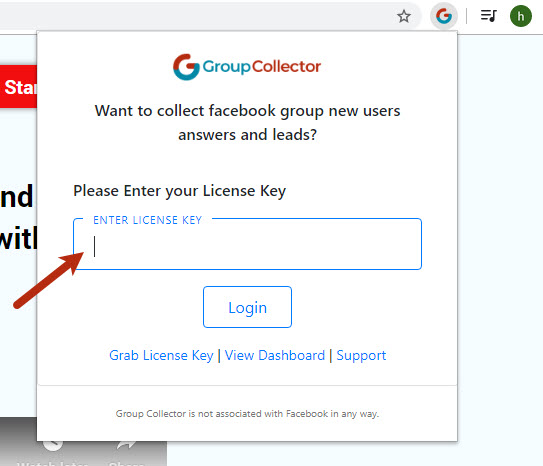
Enter the license key emailed to you after you bought Group Collector and click on the Login button.
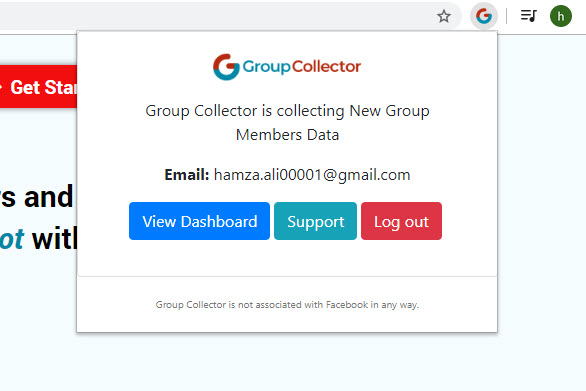
Group Collector Chrome Extension is now successfully installed. It will now collect the new member’s data automatically.
Accessing Group Collector Dashboard
Go to app.groupcollector.com, and you will be asked to enter your email and password.
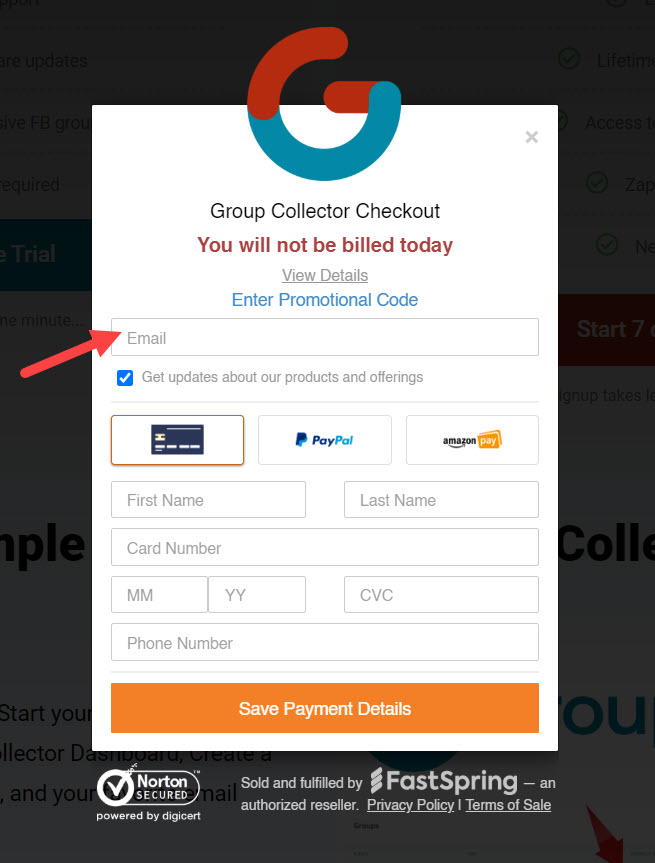
Enter the email that you used when starting your 7-day free trial.
The password is sent along with the license key to your email address. Enter the email and the password and click on the Login Button.
You can update the password by visiting Profile tab from the sidebar in Group Collector Dashboard.
You will be able to view the Group Collector Dashboard.

Approve New Members
Make sure that Facebook Automatic Members Approvals is not set. Otherwise Group Collector will not work.
Also, Make sure that you are using English Version of Facebook Otherwise Group Collector will not work.
To Approve New Members, go to https://www.facebook.com/groups/{your_group_username}/requests You should wait till you see GC Approve and GC Approve All Buttons instead of Approve and Approve All Buttons. You should only Approve Members when you see the GC Approve Button. If you do not see the GC Approve button for a white, check if you are logged in to the Chrome Extension. This is important because otherwise, you will lose data. That is when the Group Collector has successfully loaded and you can approve new members.
Create New Group
Go to https://www.facebook.com/groups/ and select the group you want to use with Group Collector from the Groups You Manage list on the left side.

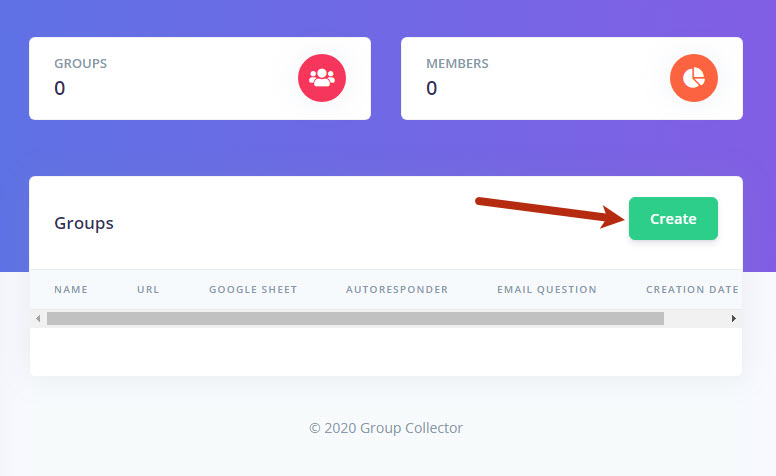
On the Group Collector Dashboard, click on the Create button to create a new Group.
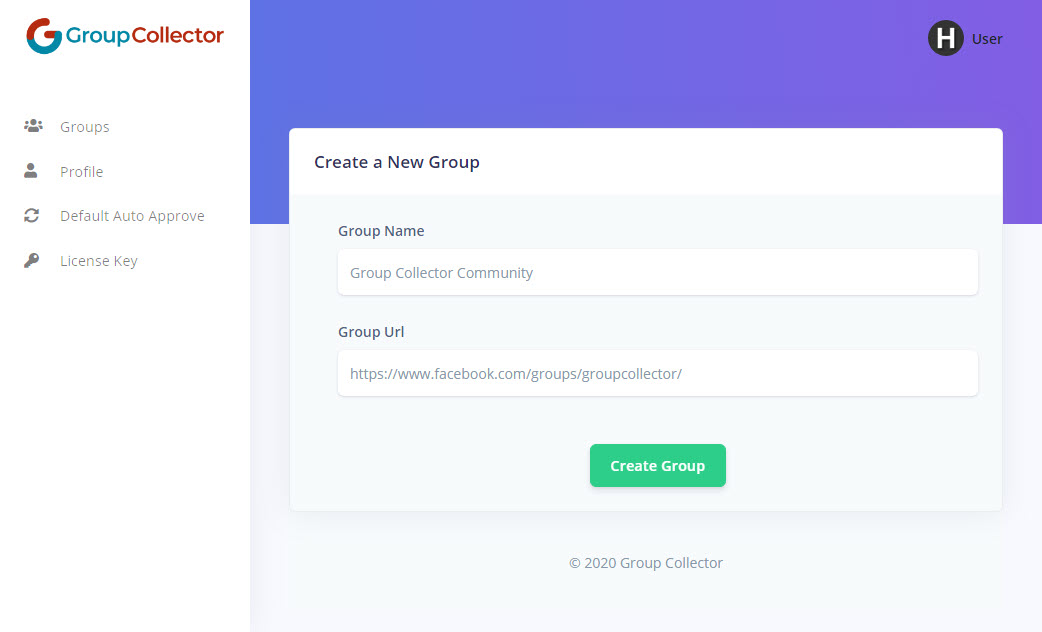
Enter the Group Name and the Group Url and then click on the Create Group button. The group will be created successfully.

If you approve a member request on a Facebook group that is not added to the Group Collector, your group will be created automatically.
Add Google Sheet
After you have created a new group, the most important thing you need to do is to add the Google Sheet where all of your member’s data, including email addresses, will be pushed. Group Collector Dashboard also stores all of your member’s data.
Adding Google Sheet is optional, and even if you add google sheet URL after approving some members, their data will be automatically added to the google sheet.
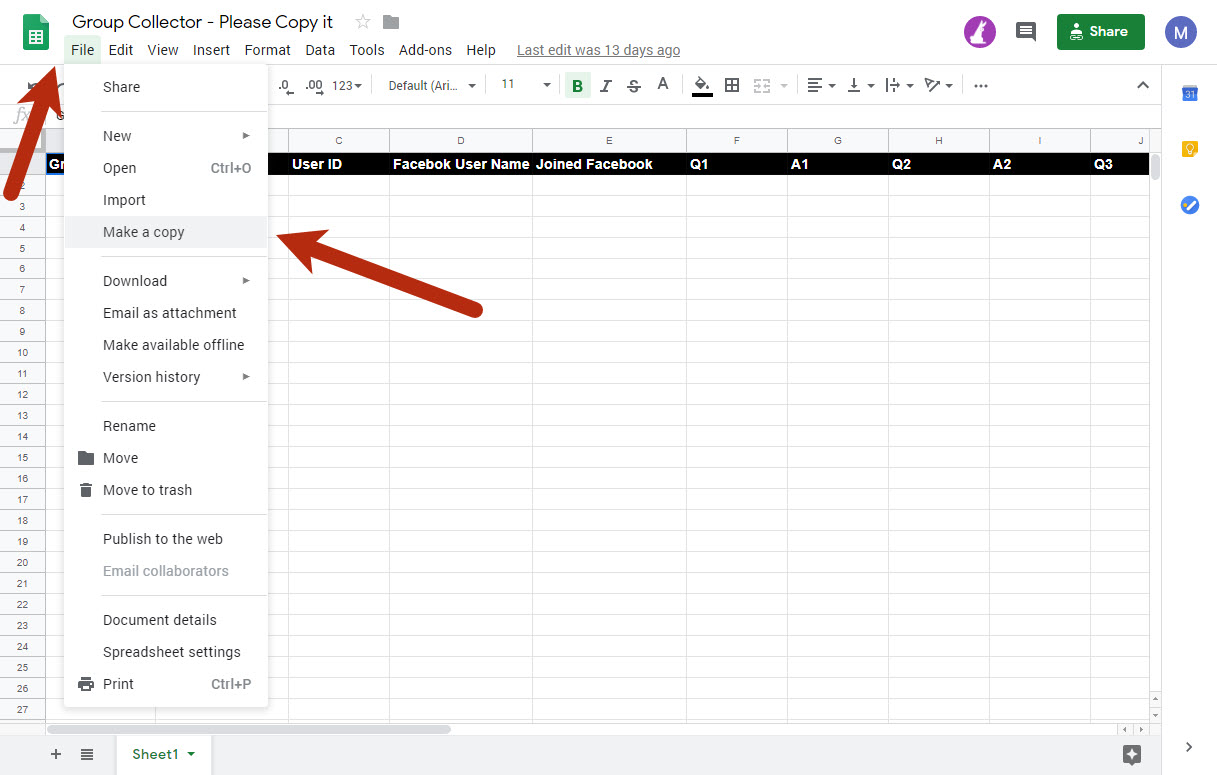
Click here and make a copy of the official Group Collector Spreadsheet and name the spreadsheet as your Facebook Group Name or whatever you like but DO NOT CHANGE THE SHEET TAB NAME from "Sheet1" to anything. Otherwise data will not be pushed to Google Sheet.

Finally, Copy the Url of the newly created Google Sheet from the URL box.

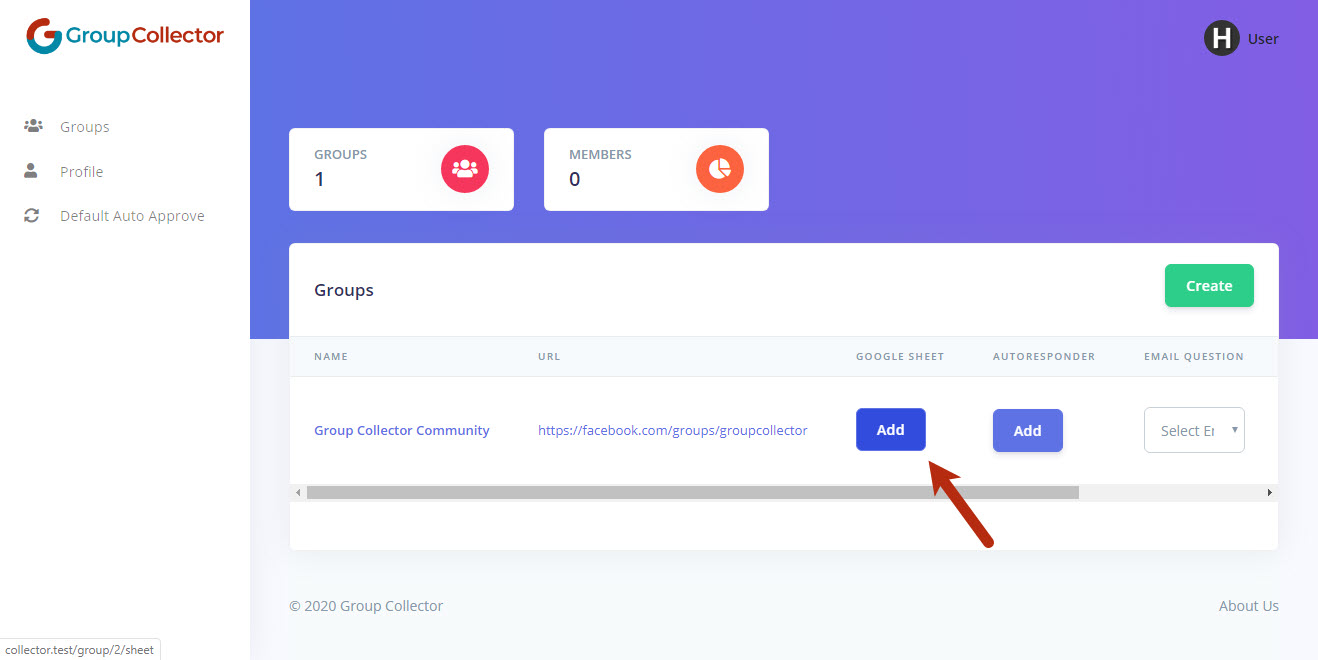
In the Group Collector Dashboard, click on the Add button in the Google Sheet Column for your group.
Now paste the Google Sheet Url in the Google Sheet Url input box and click on the Update Sheet and Authenticate Google Account.

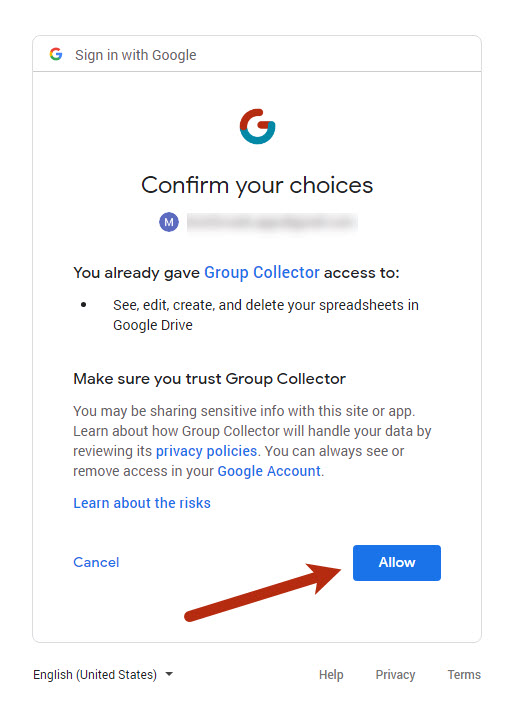
You will be redirected to Google to give access to the google sheet. If you are already logged in to your google account, you will be asked to select the account. Otherwise, you will be asked to log in to your google account. Use the google account where this spreadsheet is stored. Finally, click on the Allow Button to approve Group Collector to push data to the google sheet.
You will be redirected back to the Group Collector Dashboard, where you will be able to see the notification Google Sheet Added and Account Authenticated Successfully.
Now, as soon as you approve a new group member, its data will be pushed to the google sheet within a minute.
Autoresponder
In the Group Collector Dashboard, click on the Add button in the Autoresponder Column for your group.

Select the autoresponder from the dropdown. Enter its credentials and click on Verify and Update button.
Now, as soon as you approve a new group member, its email will be pushed to your selected autoresponder.
Learn How To Setup Facebook Group Members Auto Approval (Optional)